The Understated Elegance: Your Guide to the French Reverse Manicure
For decades, the classic French manicure—with its pink or nude base and bright white tips—reigned supreme as the symbol of understated, polished beauty. But in the ever-evolving world of nail art, a chic and modern twist has emerged: the French Reverse Manicure. Also known as the half-moon or negative space manicure, this style flips the traditional script, offering a fresh, sophisticated look that’s both timeless and contemporary.
What is a French Reverse Manicure?
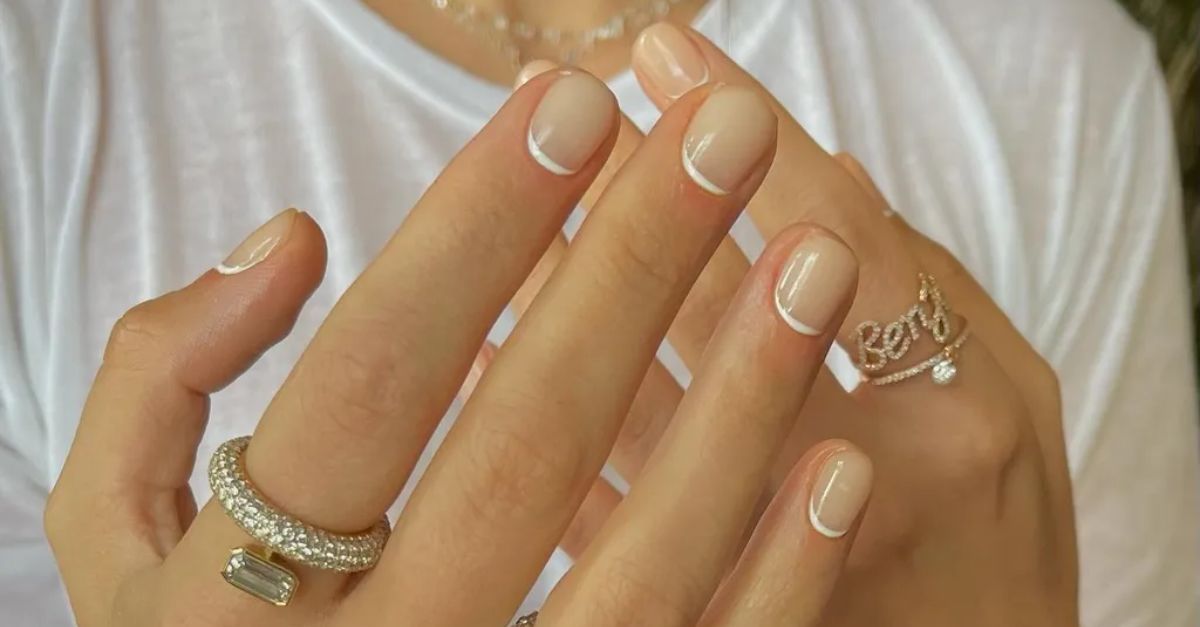
Imagine the classic French manicure turned inside out. Instead of highlighting the free edge of the nail, the French Reverse Manicure emphasizes the lunula—that pale, crescent-shaped area at the base of your nail bed. In this design, a delicate arc of color (traditionally white, but now often anything from neutrals to bold hues) is painted along the cuticle line, while the rest of the nail, including the tip, is left in a clean, natural state or coated with a sheer, nude polish. The result is a striking “negative space” effect that frames the nail in a uniquely elegant way. It’s minimalist art for your fingertips, playing with perception and drawing the eye to the graceful shape of the nail itself.
Why Choose the French Reverse Manicure?
Its rising popularity is no accident. This style offers a host of compelling benefits:
- Sophisticated Minimalism: In a world of maximalist nail art, the reverse French stands out through restraint. It’s the ultimate “quiet luxury” statement—polished, intentional, and incredibly chic without being loud.
- Illusion of Length & Strength: The curved line at the base can visually elongate the nail bed, making fingers appear longer and more slender. It also creates a look of inherent strength and neatness.
- Low-Maintenance Grow-Out: Unlike the classic French, where grown-out white tips become immediately obvious, a reverse French grows out far more discreetly. The color at the base blends naturally with the nail, making regrowth less noticeable and extending the life of your manicure.
- Creative Versatility: While the original white-on-nude is stunning, this canvas begs for creativity. Try a deep burgundy moon with a clear coat, a metallic gold arc, or even a different pastel shade on each nail. It adapts seamlessly from boardroom to cocktail party.
How to Achieve the French Reverse Manicure: A Step-by-Step Guide
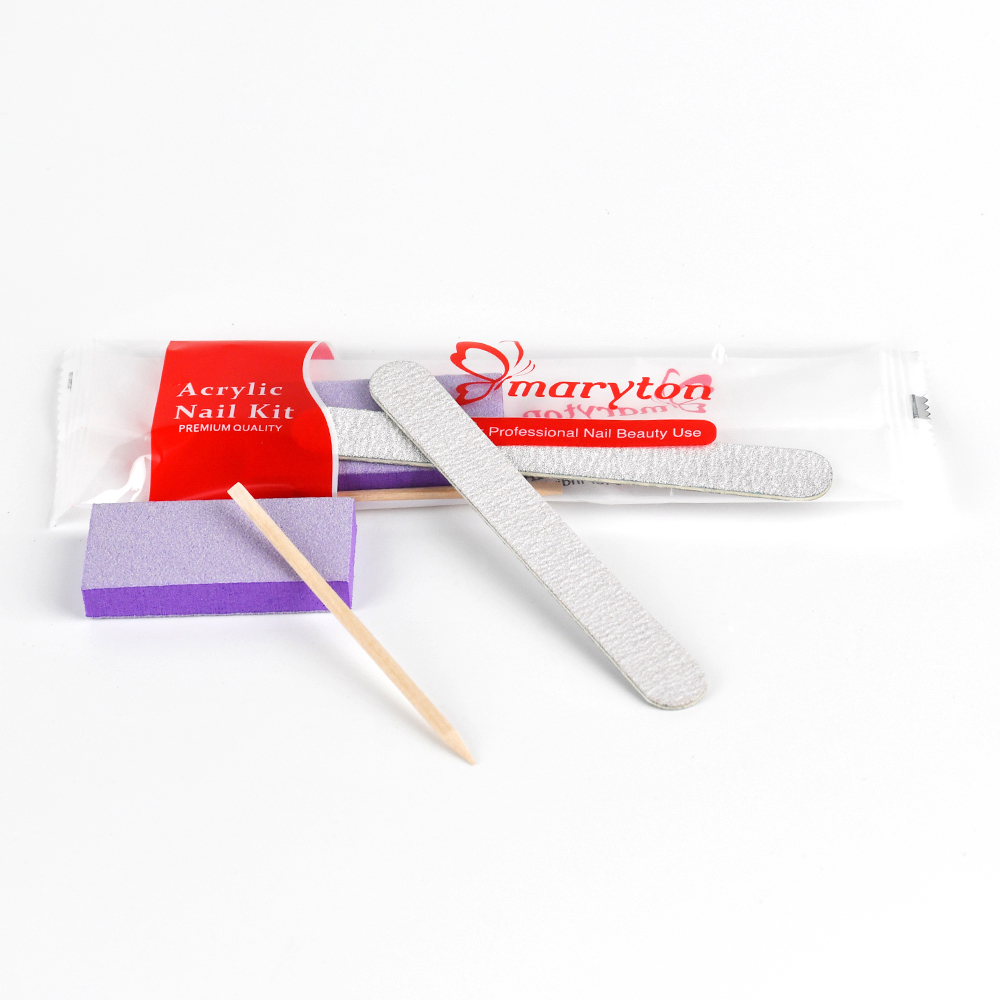
You can achieve this look at home with patience and the right nail supplies. Here’s how:
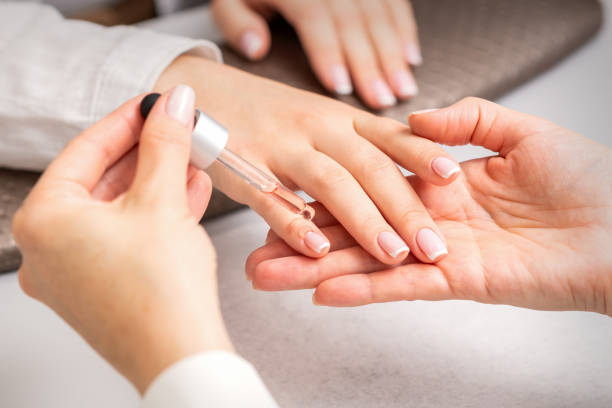
1. Prep is Paramount: Start with clean, bare nails. Push back your cuticles gently, trim and shape your nails to your desired length (this style works beautifully on short, medium, and long nails). Lightly buff the surface and cleanse with nail polish remover to remove any oils.
2. Apply Your Base: Apply a thin layer of a sheer, nude, or clear base coat. For the classic look, a milky pink or beige jelly polish is perfect. Let it dry completely. This layer defines the main body of your nail.
3. Create the Crescent: This is the trickiest part.
- For beginners: Use small, curved hole reinforcement stickers (the kind used for paper in ring binders). Place one sticker at the base of your nail, lining up its curved edge to create a perfect moon shape where you want the color to be.
- For the steady-handed: You can attempt to freehand the curve with the brush of your polish, starting from one side of the cuticle, drawing a smooth arc, and connecting to the other side. A thin nail art brush offers more control.
4. Fill in the Moon: Carefully apply your chosen “moon” color (white, black, etc.) within the stenciled or drawn area. Apply two thin coats for opacity, letting each dry slightly.
5. The Reveal: Peel off the stickers immediately after the second coat, before the polish dries completely, to ensure a crisp line. If you freehanded, simply let it dry.
6. Seal & Protect: Once the crescent is fully dry, apply a generous layer of high-gloss top coat over the entire nail. This seals the design, protects the edges, and adds a professional, glass-like shine.
Maintaining Your Masterpiece
To keep your reverse French looking flawless:
- Top Coat is Your Best Friend: Reapply a fresh layer of top coat every 2-3 days. This prevents chipping, especially at the vulnerable line where the two styles meet, and revives the shine.
- Mind Your Hands: Wear gloves for chores. Excessive exposure to water and harsh chemicals is the fastest way to break down any manicure.
- Oil Up: Daily application of cuticle oil keeps the skin around your elegant half-moon hydrated and healthy, and nourishes the natural nail.
- The Smart Touch-Up: If minor chipping occurs at the crescent line, use a fine nail art brush to dab on a tiny bit of the colored polish, then re-seal with top coat.
The French Reverse Manicure is more than a trend; it’s a reimagining of a classic. It proves that innovation often lies not in adding more, but in thoughtfully redefining what’s already there. By drawing attention to the often-overlooked beginning of the nail, it creates a look of refined intelligence and modern grace—one perfectly executed crescent at a time.
Related Posts
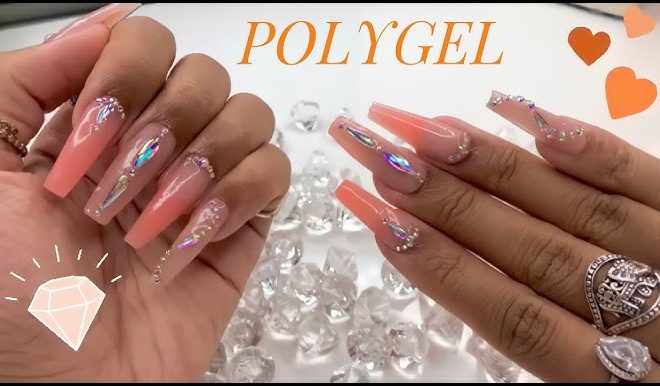
How do you cure polygel without a UV/LED lamp?